The iPhone 16 is here, packed with powerful features designed to make your daily life more efficient and fun. One of its most versatile tools? The built-in screen recording feature. Whether you’re creating tutorials, saving a memorable gaming moment, or troubleshooting app issues with friends, screen recording makes it simple.
This guide will walk you through how to screen record on an iPhone 16, offer tips to maximize your recording quality, and troubleshoot common issues you might face. Let’s get started!
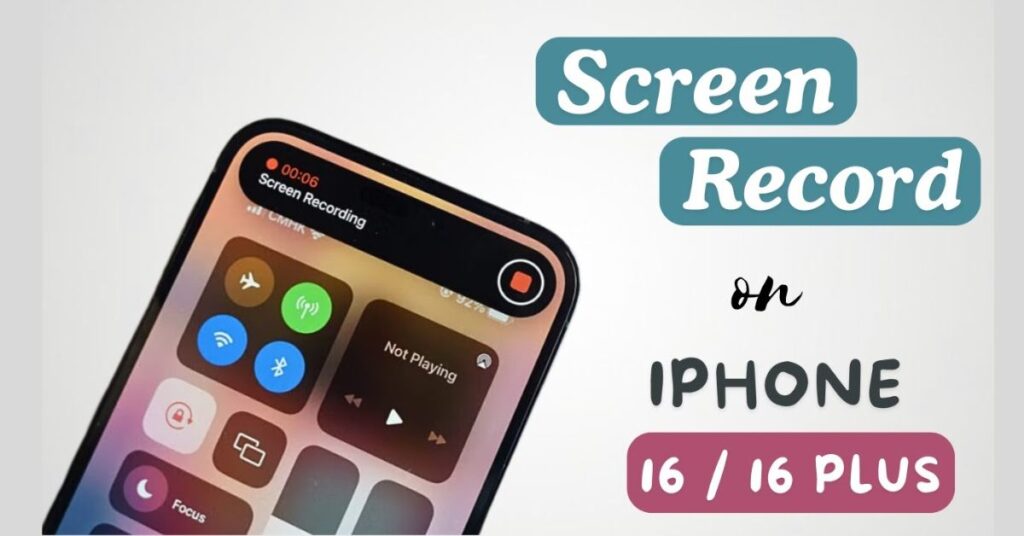
Step-by-Step Guide to Screen Record on iPhone 16
Step 1: Enable Screen Recording
Before you start recording, you need to make sure the screen recording option is accessible in your Control Center. Here’s how:
- Open the Settings app on your iPhone.
- Scroll down and tap on Control Center.
- Under “More Controls,” find Screen Recording and tap the green + button to add it to your Control Center.
Once this is done, you’ll be able to start screen recording directly from the Control Center.
Step 2: Access the Control Center
To begin recording, swipe down from the top-right corner of the screen to open the Control Center. You’ll see a circular record icon (a dot inside a circle) that represents the Screen Recording feature.
Step 3: Start Recording
Follow these steps to screen record:
- Tap on the record icon in the Control Center.
- You’ll see a countdown (3, 2, 1…), indicating the recording is starting. The record icon will turn red, signaling that the session is active.
- Navigate through your iPhone to capture anything you wish. Whether it’s an app demo or gameplay footage, everything on your screen will now be recorded.
Step 4: Enable Microphone (If Needed)
If you want to include audio in your screen recording, here’s what to do:
- Press and hold the record icon in the Control Center.
- A menu will pop up with a Microphone On/Off option at the bottom.
- Tap to turn it On if you wish to record your voice or external audio.
This feature is especially helpful for creating tutorials or giving commentary during your recording.
Step 5: Stop the Recording
When you’re done, stopping the recording is just as easy:
- Tap the red status bar at the top of your screen.
- Select Stop when the confirmation prompt appears.
Alternatively, you can open the Control Center again and tap the red record icon to stop the recording.
Your recording will automatically save to the Photos app under “Recents.”
Tips and Tricks for a Better Screen Recording Experience
- Keep Notifications Silent: Notifications can interrupt your recording. Switch on Do Not Disturb mode (via Control Center) to avoid unexpected pop-ups.
- Clean Up the Screen: Before recording, close background apps and clear clutter from your screen for a more professional-looking result.
- Use Orientation Lock: Enable Orientation Lock from the Control Center if your recording requires a specific screen layout (portrait or landscape).
- Adjust Audio Balance: If you enable the microphone, ensure your surroundings are quiet to avoid background noise.
- Record in High Resolution: Go to Settings > Camera > Record Video to ensure your screen recording captures the best quality. Opt for 1080p or 4K resolution settings.
Troubleshooting Common Screen Recording Issues
Even with a reliable feature like iPhone screen recording, you might run into occasional hiccups. Here’s how to resolve common problems:
Problem 1: Screen Recording Icon is Missing
- If you don’t see the screen recording icon in Control Center, go to Settings > Control Center and ensure Screen Recording is added.
Problem 2: “Recording Failed to Save” Error
- Check your available storage by visiting Settings > General > iPhone Storage. Free up space if your storage is almost full.
- Restart your device to resolve temporary system glitches.
Problem 3: No Audio Captured
- Confirm that the Microphone option is turned on before starting the recording.
- Ensure audio permissions for the relevant app are enabled under Settings > Privacy & Security > Microphone.
Problem 4: Screen Recording is Not Starting
- Restart your iPhone to reset any processes causing the issue.
- Update your iPhone to the latest iOS version via Settings > General > Software Update. This ensures you have the most stable version.
Use Screen Recording to Unlock the Full Potential of Your iPhone 16
Whether you’re creating tutorial videos, capturing app how-tos, or saving epic gaming sessions, the screen recording feature on the iPhone 16 is a tool every user should master. By following the steps above and implementing a few of our tips, you’ll be able to create seamless, high-quality recordings in no time.
Still have questions about using your iPhone 16? Check out Apple Support or share your thoughts below. Happy recording!
References
For more detailed guidance on using the screen recording feature and other functionalities of your iPhone 16, refer to the official Apple User Guide for iPhone. Additionally, you can explore the Apple Support Page for FAQs, troubleshooting tips, and expert advice. These resources ensure accurate and comprehensive information tailored directly from the manufacturer.

Dominic O. McCoy is a passionate writer who loves crafting engaging and informative blogs on a wide range of topics. With a deep curiosity and a knack for storytelling, he explores everything from lifestyle and technology to business and home improvement. Whether breaking down complex ideas or sharing practical tips, McCoy aims to deliver valuable content that resonates with readers. When he’s not writing, he enjoys learning about new trends and expanding his knowledge to bring fresh perspectives to his work.